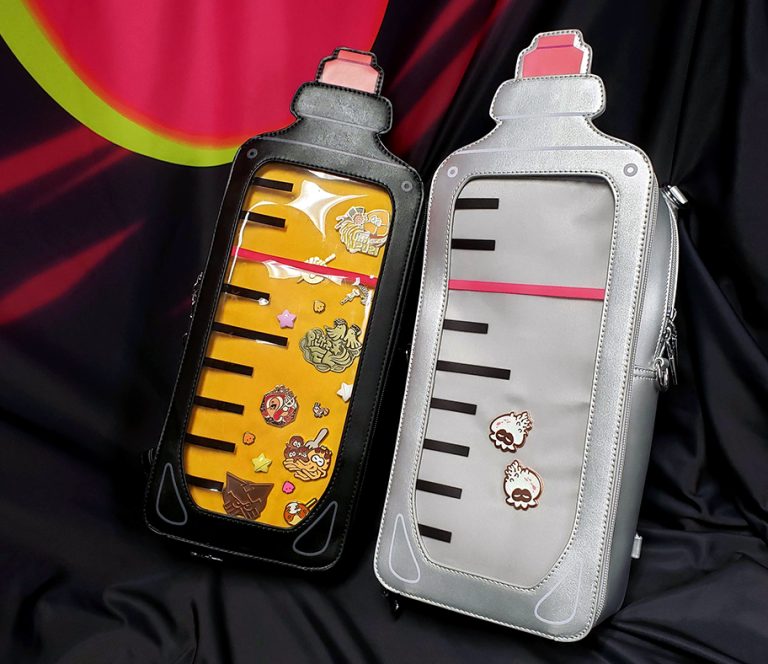
Welcome to the Ink Tank Ita Bag Care Guide! This guide will go over the care instructions for the Ink Tank Ita Bag. this information can also be used and applied to other ita bags of a similar material.
To help understand how to properly care for your bag, I will go over the general process I use to grade the bags when they arrive from my manufacturer.
Inspecting
Each Ink Tank Ita Bag is shipped to me wrapped in one layer of felt and one layer of plastic. I reuse this packaging when shipping your bag to you. The boxes used for shipping are intended to fit one bag with padding. This is why I have a limit of one Ink Tank Ita Bag per order.
After removing the bag from the plastic and felt wrappers, I inspect the top of the front panel or window piece for any major bends. If there is a major bend on the window piece, I set the bag aside for heat-treatment.
I aim to keep the bag’s front panel flat during shipment, however, it can be bent again during transit. This is what can be done to fix a bent Ink Tank Ita Bag window.
How to fix front panel bends:
To flatten the front panel you need a flat surface (a table works perfectly), a hair-dryer or heat-gun, and a heavy object such as a book.

Here is an example of a bent part.

Unzip the front part all of the way and remove the insert.

Lay the front panel flat with the design facing up.

Apply heat to the area you are trying to flatten. Lightly bend the piece in the opposite direction gradually flexing it further with multiple attempts.

When the bend starts to straighten out, apply heat again to the area and then lay the bag window against a flat surface. Place a heavy book or flat object on top of the window piece and lightly press down with your hand. You can release after a few seconds and remove the book/object.

Let the window piece cool down and it should be back to perfectly flat! If it is not, repeat the process again after the window piece has cooled down.
Grading
For grading: I inspect the front window first and wipe down the front and interior of the clear panel using an Endust wipe intended for cleaning screens. It is the least abrasive cleaner I can use and removes any dust or smudges for me to see if there’s any major scratches.
I then move onto the middle zipper section and remove the air bag or stuffing to check for a set of straps and to check that the padded pockets are sewn in correctly.
Lastly I check the back pocket to make sure it is also sewn in correctly. All zippers are checked for jams and the general exterior is checked to ensure all 6 d-rings are on, the bag stands are on, and the pleather does not have any rips.
Grading is typically based on how usable the bag is for its original intents and purposes by individual parts. For example, if interior joycon pockets are sewn slightly uneven but would still fit a joycon per, it isn’t marked down but if the pocket was sewn on upside-down, the bag would be marked down significantly since the function of the pockets is no longer usable. I don’t typically find a lot of errors like this though, fortunately.
The Ink Tank Ita Bag is not rated to be suitable for carrying weights more than 2-3lbs. It is intended for small electronics.
Other notes:
- You can get rid of loose threads on any part of the outside of the bag by grazing a lighter over the thread (do not light for more than a second at a time).
- The edges of the insert will not be visible through the clear section of the bag. You can ‘refresh’ a used insert by wrapping it in a remnant or scrap fabric using safety pins to secure it to the back.
- While I have used surface cleaners on my own bags in the past with no issue, minimally abrasive cleaners are most recommended.


